Configuration
Goyo의 설정 방법을 알아보세요.
config.toml에서 Goyo 테마를 설정합니다.
택소노미 (선택사항)
Goyo는 콘텐츠 분류를 위한 categories와 tags 택소노미를 지원합니다. 이 설정은 선택사항이며 — 택소노미 없이도 테마는 정상 동작합니다. 카테고리별 피드 구독이나 태그 기반 네비게이션을 사용하려면 config.toml에 다음을 추가하세요:
taxonomies = [
    { name = "tags", feed = false },
    { name = "categories", paginate_by = 10, feed = true },
]
다국어 사이트의 경우, 각 언어 섹션에 동일하게 설정합니다:
[languages.ko]
taxonomies = [
    { name = "tags", feed = false },
    { name = "categories", paginate_by = 10, feed = true },
]
참고: 택소노미를 정의하지 않으면 이에 의존하는 기능(카테고리 피드, 피드 페이지 등)이 자동으로 비활성화됩니다. 빌드 오류는 발생하지 않습니다.
디자인 & 브랜딩
로고
구조화된 형식을 사용하여 사이트 로고를 설정하세요:
[extra.logo]
text = "Goyo"                              # 이미지 없을 때 텍스트
image_path = "images/goyo.png"             # 기본 로고 이미지 경로
image_padding = "5px"                      # 선택사항: padding
dark_image_path = "images/goyo-dark.png"   # 다크 테마용 로고 (선택사항)
light_image_path = "images/goyo-light.png" # 라이트 테마용 로고 (선택사항)
테마별 로고: dark_image_path와 light_image_path를 지정하면, 사용자가 다크/라이트 테마를 토글할 때 로고가 자동으로 전환됩니다. 지정하지 않으면 image_path가 두 테마 모두에 사용됩니다.
레거시 형식 (하위 호환성 지원):
[extra]
logo_text = "Goyo"                    # 이미지 없을 때 텍스트
logo_image_path = "images/goyo.png"   # 로고 이미지 경로
logo_image_padding = "5px"            # 선택사항: padding
푸터
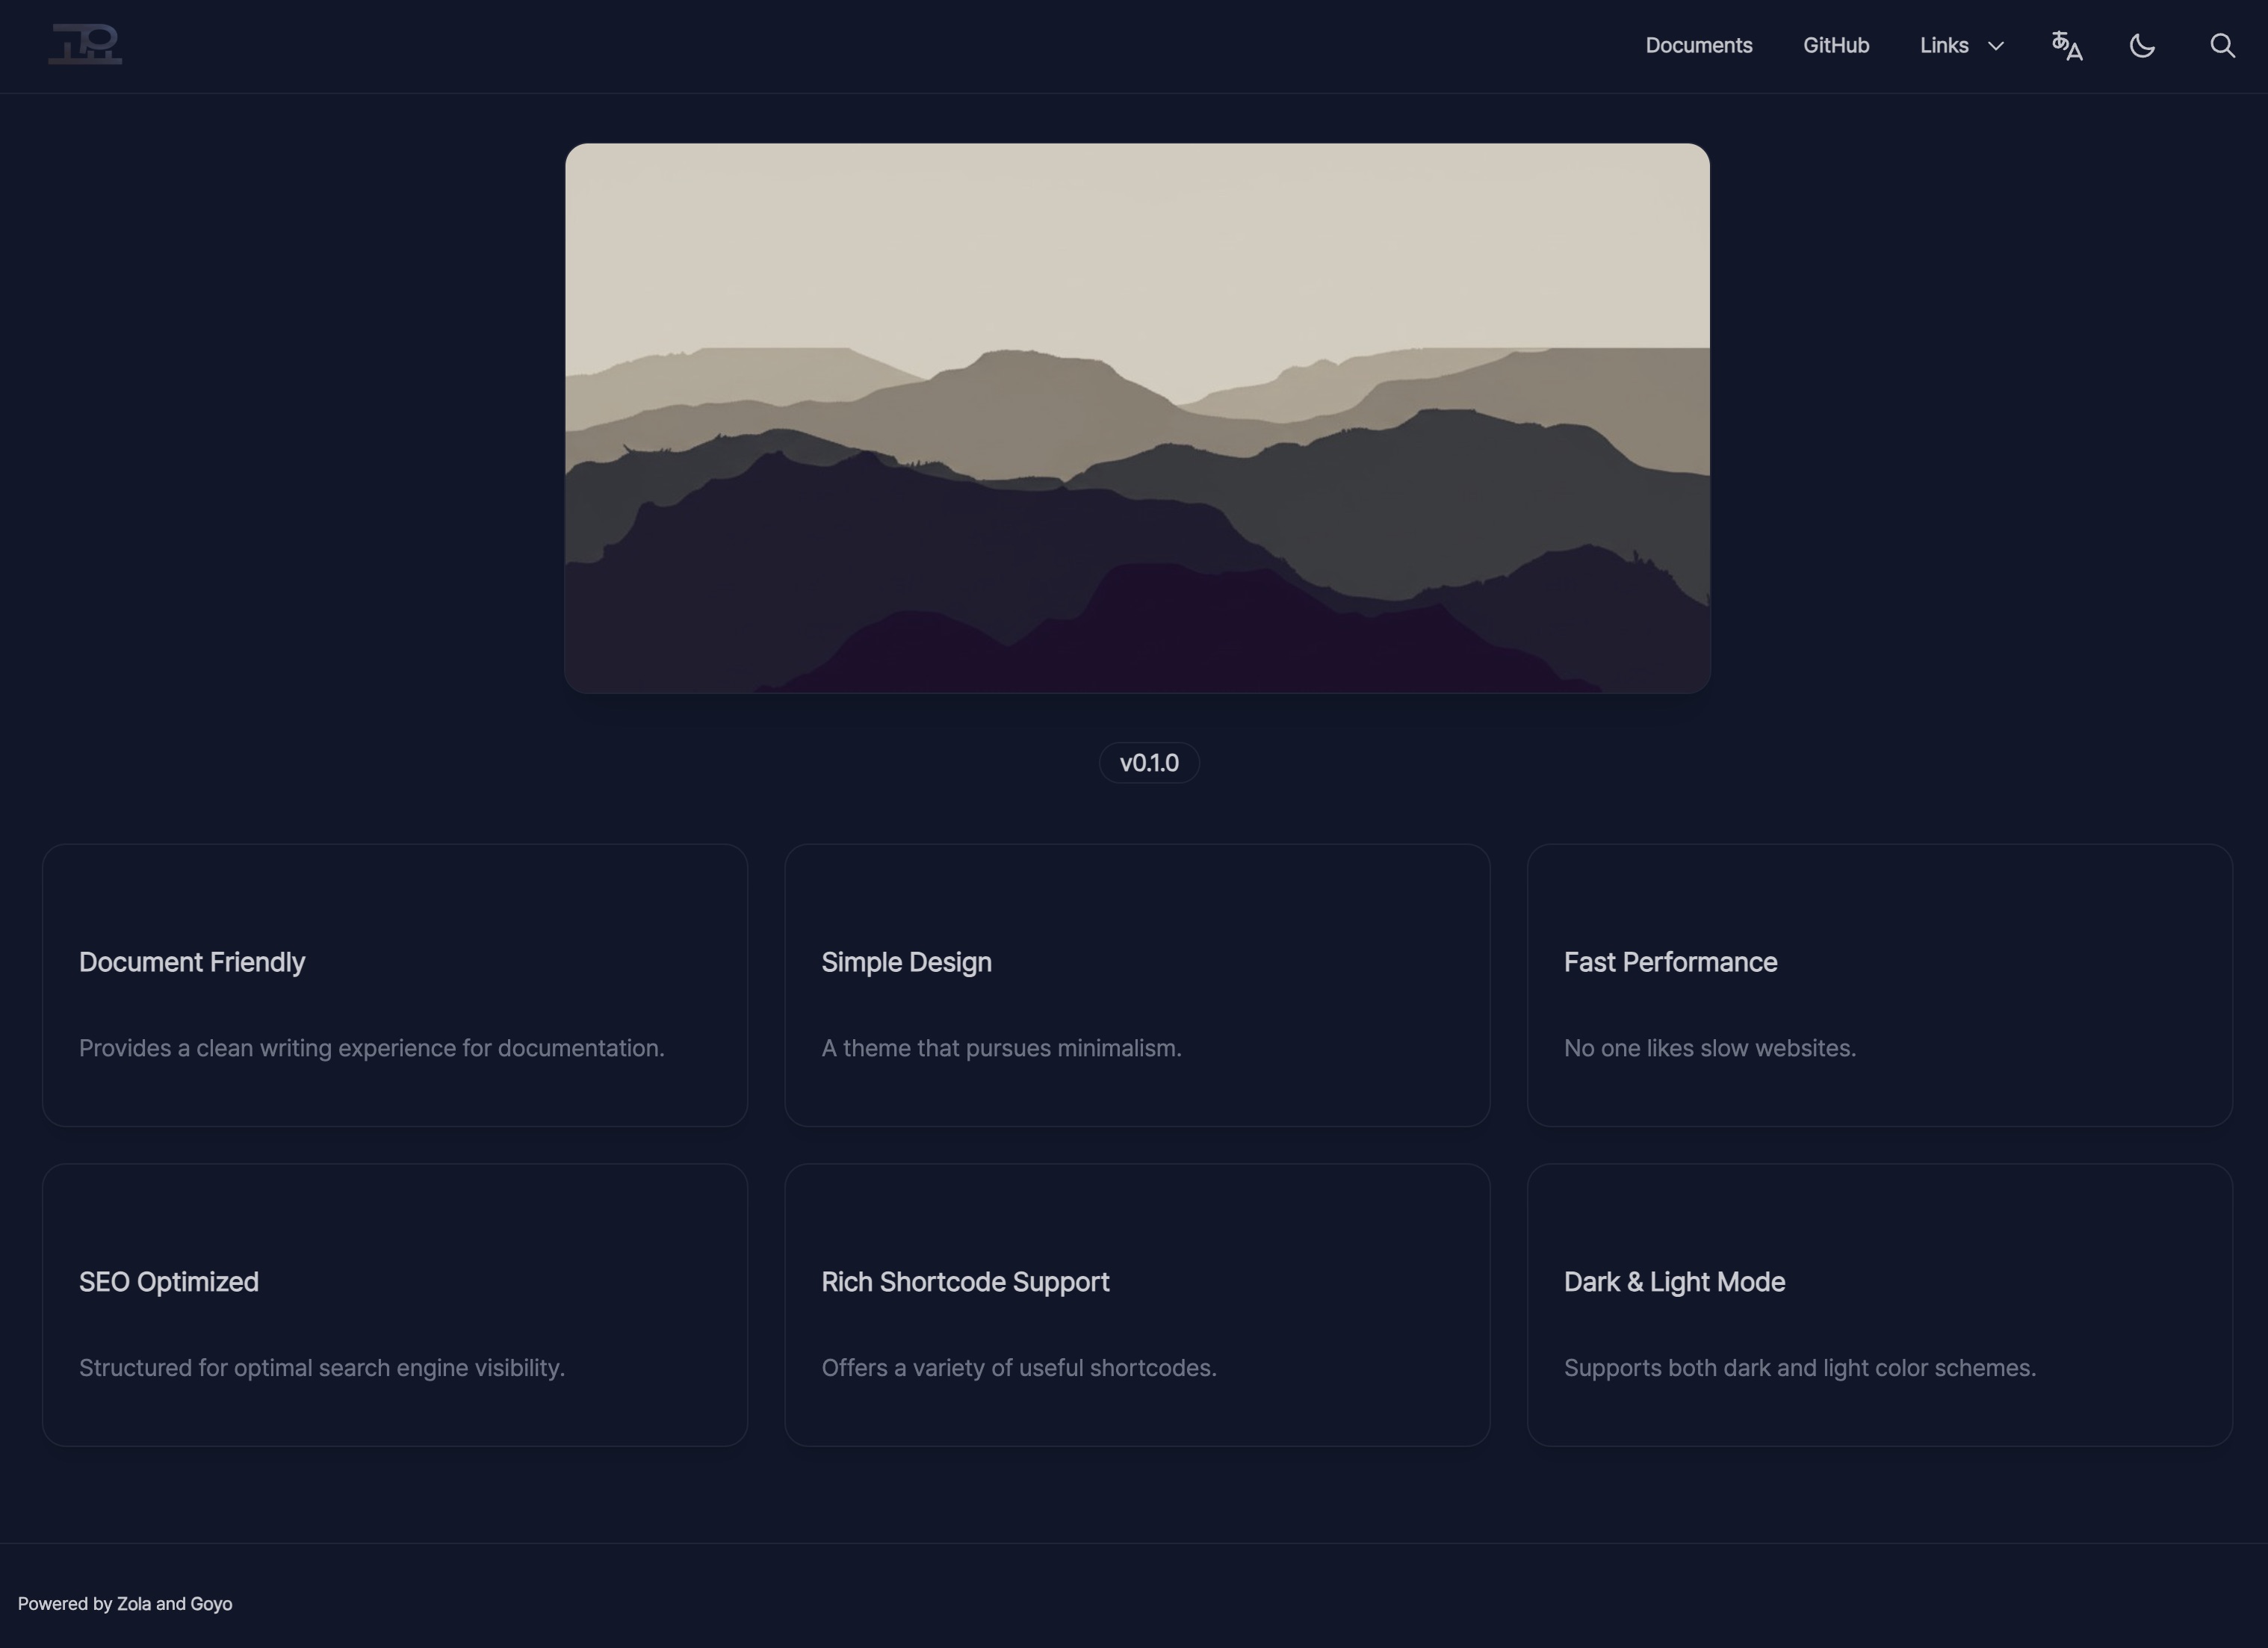
[extra]
footer_html = "Powered by <a href='https://www.getzola.org'>Zola</a>"
파비콘
구조화된 형식을 사용하여 파비콘 설정을 지정하세요. 기본 경로는 모든 파비콘 파일에 대해 /icons/입니다:
[extra.favicon]
base_path = "/icons/"                              # 모든 파비콘 파일의 기본 경로 (기본값: /icons/)
favicon_96x96 = "/icons/favicon-96x96.png"         # 96x96 PNG 파비콘 경로 재정의
favicon_svg = "/icons/favicon.svg"                 # SVG 파비콘 경로 재정의
favicon_ico = "/icons/favicon.ico"                 # ICO 파비콘 경로 재정의
apple_touch_icon = "/icons/apple-touch-icon.png"   # Apple 터치 아이콘 경로 재정의
site_webmanifest = "/icons/site.webmanifest"       # 사이트 매니페스트 경로 재정의
static/icons/ 디렉토리에 파비콘 파일을 배치하세요:
favicon-96x96.png- 96x96 PNG 파비콘favicon.svg- SVG 파비콘favicon.ico- ICO 파비콘apple-touch-icon.png- 180x180 Apple 터치 아이콘site.webmanifest- 웹 앱 매니페스트 파일
생성되는 HTML:
<link rel="icon" type="image/png" href="/icons/favicon-96x96.png" sizes="96x96" />
<link rel="icon" type="image/svg+xml" href="/icons/favicon.svg" />
<link rel="shortcut icon" href="/icons/favicon.ico" />
<link rel="apple-touch-icon" sizes="180x180" href="/icons/apple-touch-icon.png" />
<link rel="manifest" href="/icons/site.webmanifest" />
SEO & 소셜
썸네일
[extra]
default_thumbnail = "images/default_thumbnail.jpg"
트위터
구조화된 형식을 사용하여 트위터 메타 태그를 설정하세요:
[extra.twitter]
site = "@hahwul"
creator = "@hahwul"
레거시 형식 (하위 호환성 지원):
[extra]
twitter_site = "@hahwul"
twitter_creator = "@hahwul"
구글 태그
[extra]
gtag = "G-XXXXXXXXXX"
네비게이션 & UI
테마
구조화된 형식을 사용하여 테마 설정을 지정하세요:
[extra.theme]
colorset = "dark"           # 옵션: "dark" 또는 "light"
brightness = "normal"       # 공통 밝기: "darker", "normal", "lighter"
dark_brightness = "darker"  # 다크 테마 전용 밝기 (선택사항)
light_brightness = "normal" # 라이트 테마 전용 밝기 (선택사항)
disable_toggle = false      # 다크/라이트 모드 토글 숨김
테마별 밝기: dark_brightness와 light_brightness를 설정하여 각 테마에 서로 다른 밝기 레벨을 사용할 수 있습니다. 지정하지 않으면 공통 brightness 값이 두 테마 모두에 사용됩니다.


레거시 형식 (하위 호환성 지원):
[extra]
default_colorset = "dark"
brightness = "normal"
disable_theme_toggle = false
폰트
구조화된 형식을 사용하여 폰트 설정을 지정하세요:
[extra.font]
enabled = true
name = "MyCustomFont"
path = "fonts/mycustomfont.woff"
기본값: Pretendard (한국어와 영어에 최적화)
구글 폰트:
[extra.font]
enabled = true
name = "Roboto"
path = "https://fonts.googleapis.com/css2?family=Roboto&display=swap"
레거시 형식 (하위 호환성 지원):
[extra]
custom_font_enabled = true
custom_font_name = "MyCustomFont"
custom_font_path = "fonts/mycustomfont.woff"
사이드바
구조화된 형식을 사용하여 사이드바 설정을 지정하세요:
[extra.sidebar]
expand_depth = 2         # 1-5, 기본 확장 깊이
disable_root_hide = false # 랜딩 페이지에서 사이드바 표시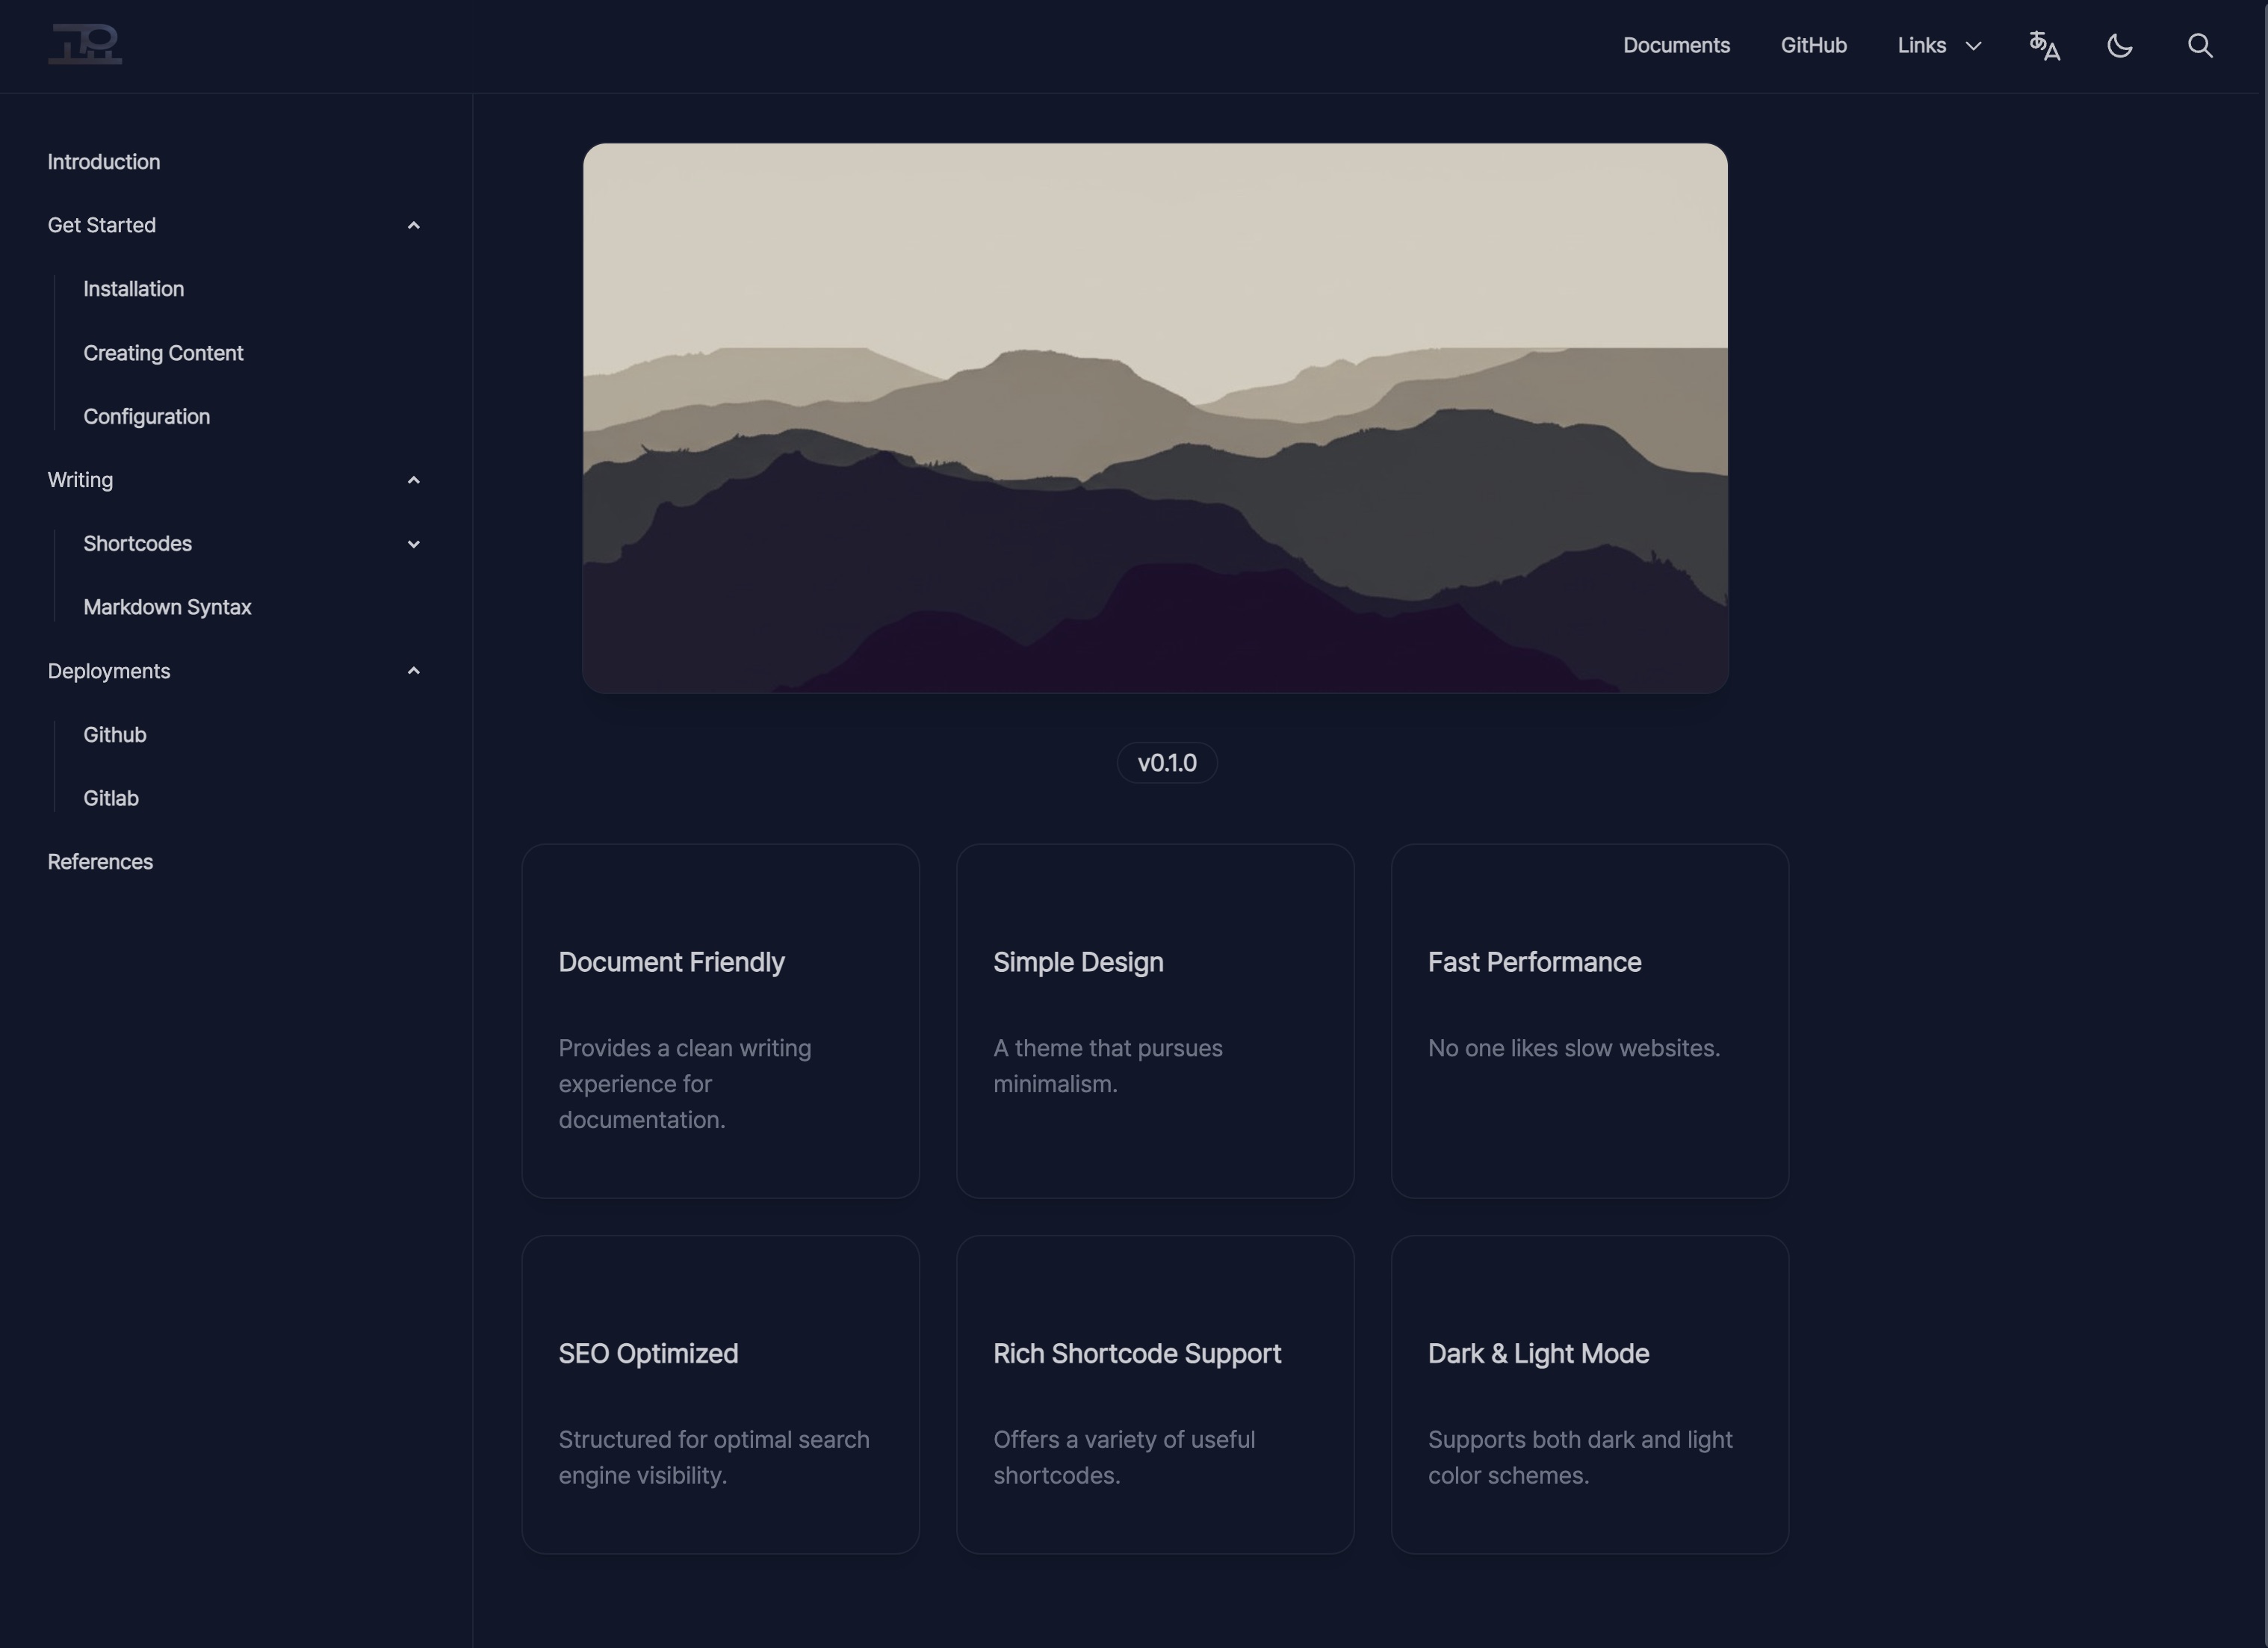
레거시 형식 (하위 호환성 지원):
[extra]
sidebar_expand_depth = 2
disable_root_sidebar_hide = false
네비게이션
[extra]
nav = [
    { name = "Documents", url = "/introduction", type = "url", icon = "book" },
    { name = "GitHub", url = "https://github.com/hahwul/goyo", type = "url" },
    { name = "Links", type = "dropdown", members = [
        { name = "Blog", url = "https://www.hahwul.com", type = "url" },
    ] },
]

# 언어별 네비게이션 (선택사항)
nav_ko = [
    { name = "문서", url = "/ko/introduction", type = "url" },
]icon: static/icons/ 폴더 내 SVG 아이콘 파일의 이름이며, .svg 확장자는 제외합니다 (예: book)
언어 별칭
구조화된 형식을 사용하여 언어 표시 이름을 설정하세요:
[extra.lang]
aliases = { en = "English", ko = "한국어", ja = "日本語" }
레거시 형식 (하위 호환성 지원):
[extra]
lang_aliases = { en = "English", ko = "한국어", ja = "日本語" }
언어 설정
RTL(Right-to-Left) 언어 지원을 설정합니다:
[extra.lang]
rtl = ["ar", "he"]  # RTL 언어 목록
콘텐츠 & 공유
편집 URL
[extra]
edit_url = "https://github.com/hahwul/goyo/edit/main"
각 페이지에 "Edit this page" 링크를 추가합니다.
공유 버튼
구조화된 형식을 사용하여 공유 버튼 설정을 지정하세요:
[extra.share]
copy_url = true  # URL 복사 버튼
x = true         # X 공유 버튼
레거시 형식 (하위 호환성 지원):
[extra]
enable_copy_url = true
enable_share_x = true
댓글
[extra.comments]
enabled = true
system = "giscus"  # 또는 "utterances"
repo = "hahwul/goyo"
repo_id = "R_kgDOPHnqwg"
category = "General"
category_id = "DIC_kwDOPHnqws4CspmC"